you can integrate an existing CF7 or a new one as followed:
go to your WordPress platform.
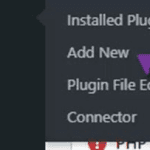
click on “plugins” → “add new” and look for the plugin “contact form 7”
if the plugin is not installed – you should install and activate it, if the plugin is installed – great! we can continue.
after you make sure the plugin is installed, go to “contact” → “add new”
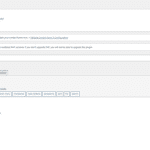
we’ll see the following screen
On this screen, we can design our form, add fields, and remove fields.
Once we finish editing our form, we’ll click “Save.”
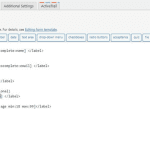
After saving, we will receive the following code (where “title” is the name we gave to the form)
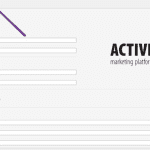
click on ActiveTrail’s tab and we’ll see the following screen
On this screen, we will need to enter the following details:
Form ID field – This is the ID we received in the code above.
Email field – This is the label linked to the email field in ActiveTrail. We will need to enter the label name of the email in the form we created for this field.
Please note: the label name we put in this field should match the label name we see in the form tab.
Token ID – This is the API key generated within the ActiveTrail system (Integrations → API → API keys → New).
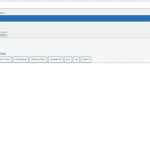
Group ID – The identifier of the group to which the registered contacts will be imported. To find the identifier, go to “contacts” → “Groups”, enter the specific group, and in the URL address, you will see the ID. After entering the details and saving, the option to map the remaining form fields to ActiveTrail will appear in the next area:
we can add and remove fields as we wish.
the labels we will insert as was explained about the email field
after mapping all the fields we’ll click “save” and the form is ready.
to embed the form go to “pages” → “all pages”
we’ll find the page we want to embed the form in and click “edit”
in the design we’ll click on the plus sign above and we’ll search for “short code”
we’ll place the block wherever we want in the page and paste the code we got in the form design


