The ActiveTrail system provides a convenient and efficient work environment for its users, but there are companies who find it more convenient to work with their systems by means of an application programming interface (API), without using ActiveTrail’s User Interface (UI). In addition, there are operations that require integration with external systems such as the customer’s website, CRM (Customer Relationship Management) systems, and others, for which there is the API option, through which programmers can carry out operations like synchronizing data by remote control.

Using RESTful API you can do everything that can be done in the ActiveTrail system- by machine! The interface is very programmer-friendly, clear, and easy to use. So let’s get to work.
How do you log in to RESTful API?
In order to start using RESTful API, you have to log in to the ActiveTrail system and go to ‘account’ and ‘settings’ in the upper left corner.

In ‘settings’, under the API tab, you can create an access token through which you’ll connect to the ActiveTrail system. In this way you’ll connect the system to other systems.
In order to create an access token, click on ‘new’ and it will open the app screen through which you can create the token:
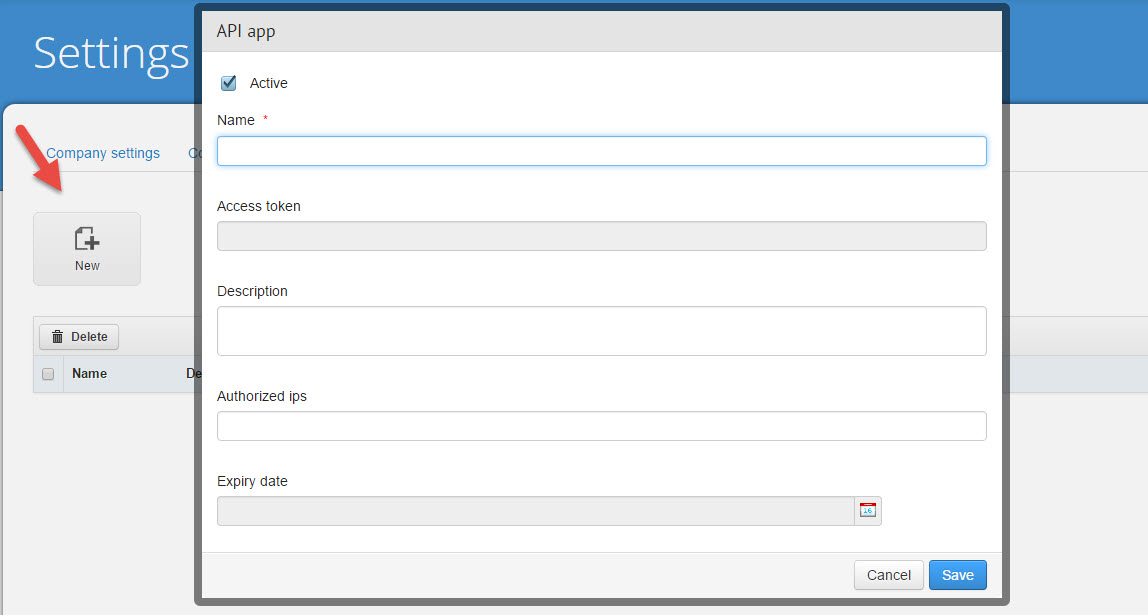
You can create an unlimited number of access tokens, with each code set for a different system. Each individual code may be cancelled, so you can cancel the access code to one system and continue to work with another system which will not be affected at all.
You can also designate authorized IP addresses or a range of authorized IP addresses for an access token.
After you’ve created the access token, click on ‘save’. The access code you created will appear in a list under ‘API apps’:

Webhooks (Events)
Under ‘settings’ and to the left of the API apps tab is the ‘Webhooks’ tab. These are updates of the recipients’ data in the system.
The updates may be carried out manually, for instance if you update your mailing list, or automatically when you have a new subscriber who filled out a sign-up form, a subscriber who changed her data, and more.
In order for ActiveTrail to be able to address your system, you need to enter your API address in the space designated for a URL address.
‘Add parameters’ – Add parameters according to your API that will be sent in every contact with your API
‘Send a test’ – Send a test in order to check if you received a notification from us

We have two occasions on which we will activate the webhook and contact (notify? address?) your API; in order to update them, update your API’s URL in the appropriate space.
- Recipient change – when a change is made in a recipient’s data that is not as a result of a manual change in the ActiveTrail interface, but rather as the result of an external update (through a sign-up form, via an API update, via a landing page, or any other way that isn’t manual)
- Manual change – When the subscriber’s data is updated manually in ActiveTrail’s web system
Access by online documentation
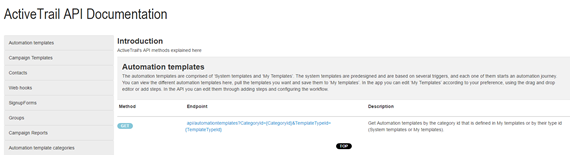
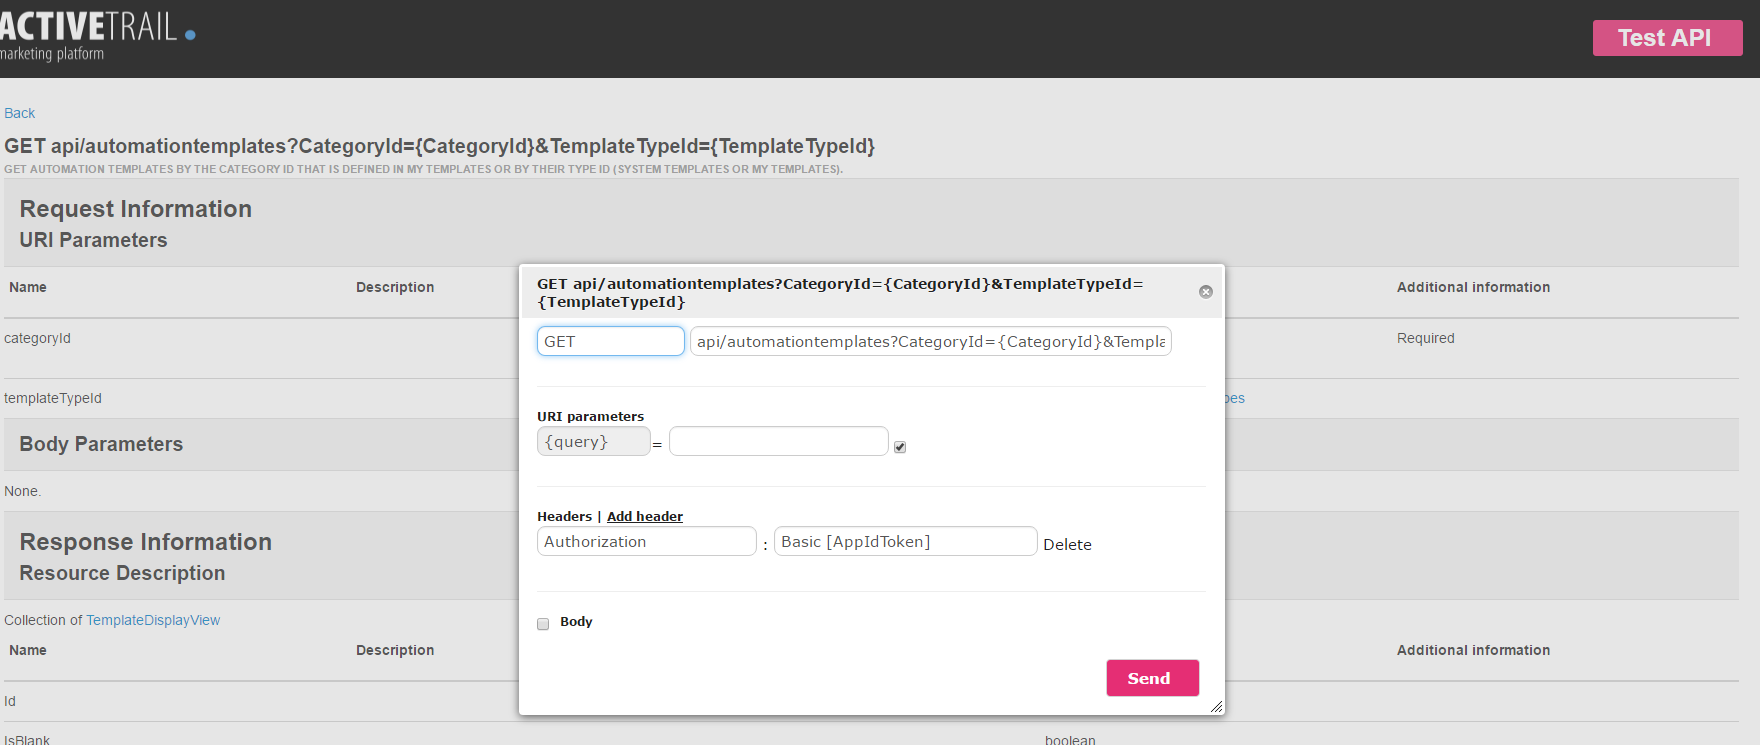
Access to the API is carried out online and there is online documentation, with a detailed explanation of each function and what it does!
You can test each function with the ‘Test API’ button.
Every task that can be carried out in Activetrail’s user interface can be carried out in API. All the functions are open for your use, including our automation system.