Learn How to Create Outstanding Landing Pages
What is a Landing Page?
A landing page is exactly as its name describes – the first page a user lands on, i.e. arrives at, after clicking on a certain link.
Users may be redirected to a landing page from a link in a newsletter, on a website’s homepage, within a YouTube ad or a banner on a mobile device, or perhaps from a Google AdWords ad or Facebook campaign.
Landing pages are nearly always designed for purposes of marketing or advertising, however, each landing page that you create may have its own specific goals, for example: a promotional offer, branding, newsletter registration, or any other call to action you would like your audience to take.
Think of a landing page as a response to a question posed by the user or as a way to make good on a promise that you gave to your users in an advertisement.
Imagine, for a moment, that you are an ad agency for a cupcake store and that you place ads in Google search results (Google AdWords). Your potential customer searches for “a birthday cupcake”, and in the search results, they spot your advertisement stating “now on sale – cupcake packages for birthdays”, and click on it. The landing page the user is taken to should not be the cupcake store’s homepage (because the home page also offers vegan cupcakes, rainbow colored cupcakes and more), rather, they should be redirected to a page dedicated, to the extent possible, to the very same subject as your advertisement – birthday cupcakes that are on sale.
You can work with Facebook in the same fashion – if you post a certain ad promising users something (e.g. 50% discount on vegan cupcakes), then lead users to a Facebook page that speaks of the promotion.
The result of all this is a win-win situation – your customer gets an answer to the question they asked, and you can be sure that whomever “landed” is interested and ready to commit to whatever it is that you offered them. Moreover, you should know that Google and Facebook rank ads based on the relevancy of their associated landing pages, and give a price advantage to the most relevant results, such that smart, correct use of landing pages can also save you a great deal of money.
Building a good landing page is one of the most effective methods for increasing the number of leads you generate, recruiting new clients and conveying your messages, in other words, marketing.
These are precisely the reasons for which we created a system for building and designing landing pages within ActiveTrail that is one of the most intuitive and user-friendly of its kind in the world. With this module, you will be able to, quickly and easily, construct landing pages that convert.
Before getting into the nuts and bolts of building a landing page in ActiveTrail, there is a word/acronym worth remembering that will help you throughout the process, and that word is AIDA. No, we are not speaking of Verdi’s operatic masterpiece, in case that’s what came to your mind, rather, we are referring to four words that every marketer should know.
AIDA – remember the following words when building your next landing page:
A – Attention: Grab your customers’ attention.
I – Interest: Interest them in appealing offers.
D – Desire: Cause them to want you, your products and your services.
A – Action: Call to action. Whether it be signing up, making a purchase, visiting your website, or watching a video, motivate your customers to take the action that you would like them to perform.
These are our primary goals and we should make sure not to miss achieving them. So, now that we know what a landing page is and the word AIDA is ringing in our ears, it’s time to have at it.
Following are instructions for building a superb landing page in the ActiveTrail system in three short steps:
1. Designing a New Landing Page
Log onto your ActiveTrail account.
On the top navigation bar, place the mouse over “Landing Pages” and select the “New Page” option

The system will open a page offering a wide range of ready-made and predesigned landing pages. You may select a designed landing page template, or, alternatively, you may choose a blank template and design your landing page yourself.
If you prefer not to work with one of our landing page templates, you may opt to build your page through an HTML editor on a completely blank canvas.

If you decide to create your own template, you can save it and add it to “My Templates”, allowing you to make use of it again with your future landing pages.
For purposes of this discussion, we will select a blank template.

Landing page templates are divided into three parts. During the design phase, we can use the landingpage editor to drag blocks from the right-hand side onto the landing page.

Pay attention to the wide variety of different blocks that you may use on your landing page. There are blocks for: text, images, sharing on social networks, posting comments or giving Facebook likes, and, of course, sign-up forms to call users to action!
Editing Blocks and Links
After dragging a block to your chosen location, hovering over the block will cause an editing window to open, in which you can design and edit the block, and add links and pictures as well.
You can add images and links under the “Edit Element” tab. The “Block Settings” tab allows you to set the block’s spacing and background color.
“Edit Element” example for an image block:

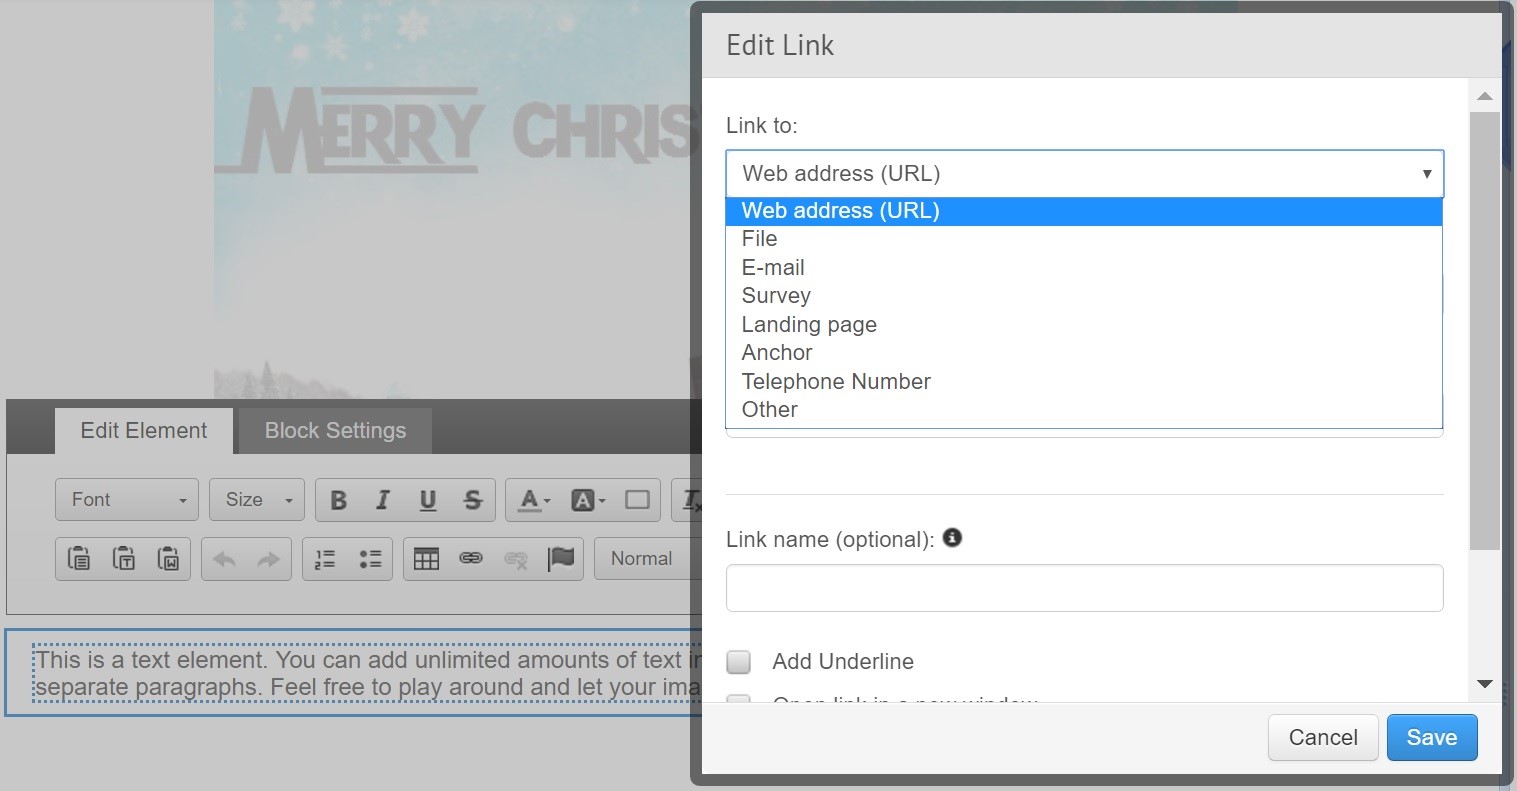
Under “Edit Element” you can create links to: Internet addresses, a specific file, an email address, a survey, another landing page, an anchor, a telephone number, or “Other”, as is your preference.
Simply click on the link symbol and select your link’s destination.
An example of editing links within a text block:
Saving Blocks
Any block that you create can be saved for re-use at a later time by clicking on the star titled “Save to My Blocks” on the right-hand side of the block. Later on, you can find saved blocks on the far right tab, also designated by a star and called “My Blocks”.

Page Background
It is possible to define separate backgrounds for each of the three sections on our landing page. Get the attention of visitors to your landing page by using background images or appealing colors (remember Attention from AIDA?). The background could be a picture of your product, a color, or any other image or graphic background. To set the background, place the mouse cursor above the appropriate block and click on the “Background” icon that appears to the left of the block:

Page Border Setting
On the Page Settings tab, immediately to the right of the Blocks tab, you may choose a border, spacing between blocks, page width, text direction and Facebook settings for each of your landing pages. You may also determine the title the page will be given when users share it with others, as well as preview the page as it will look on a computer or a mobile device.

Call to Action Options
The last letter in the acronym AIDA stands for Action, representing “Call to Action”, which is our main purpose for creating a landing page. We will select what we believe to be the best possible alternative to motivate users to take action, from one of two options:
1. Adding a “Button” block – Select an (action) button from ActiveTrail’s button gallery and give it an appealing call to action caption such as: “Register for Your Dream Vacation”; “Get a Deep Discount”; “Receive a Newsletter that Will Spice up Your Day”; or any other text that you might think of that will move your customers to take the exact action that you wish them to take.

2. Including a sign-up form – is an excellent way to generate leads. A sign-up form on a landing page is the page’s most important component. Sign-ups (or registrations) help you grow your mailing lists and allow you to collect additional information about your leads that can be useful later on when creating campaigns based on users’ personal preferences attributes or when handing a lead over to your sales department.
In the blocks panel, you may choose a form with an image, a form with text, or a horizontal form.
If you select a sign-up form with an image, position it on your landing page and add an alluring picture (remember the D for Desire in AIDA?). You may purchase an image at a discounted rate from BigStock Photo’s image bank, directly from your ActiveTrail account, and edit it using our advanced photo editor by clicking on “Edit Image”.
Here is an example of a form & image block:

Clicking on the block will open a window with various editing options. In addition to the standard block editing options, you may edit the client fields available on the form, as well as select which fields users are required to fill in in order to add themselves to your mailing list.
Here is another example, this time of a horizontal sign-up form and of editing of the form’s fields:

To add or change client fields, select the “Contacts” option from the top menu bar, and then choose “Contact Fields”. We can also change the order of the fields on the form and determine whether a field is mandatory or not, under “Edit Elements” -> “Edit Fields”.
It is now time to review your form. Think about AIDA and whether your form meets its recommendations. If you’ve checked off each of the letters, move on to the next step by clicking “Next”.
2. Creating a Thank You Page
Did your site visitors do what you wanted them to do? Did they respond to your call to action? Be gracious and thank them. Expressing such gratitude also serves to kick off good relationships with your clients or to provide additional information regarding next steps.
For instance, you can use a thank you page to let your new registrants that you will be contacting them shortly, or that a surprise will await them in their inboxes in a couple of days, in case you were planning to give new registrants some sort of gift. In addition, you can add a link to your homepage or any other page of your choice on a thank you page, thereby keeping visitors on your website.
Another smart way to use your thank you page is to embed “conversion code”. The purpose of conversion code is to inform the various advertising platforms, e.g. Facebook and Google, that whoever has reached your thank you page has successfully completed the actions you wanted them to take. Think about it, the only way to reach your thank you page is to go through your contact / sign-up form. In this fashion, we can let external applications and systems know how many people have successfully filled out our form (in other words, were converted), as well as keep track of contacts to whom we no longer wish to advertise. With the latter, our thank you page conversion code can help us reduce our advertising expenses.
After giving your landing page a name, the “Thank You Page” options window will open and you can choose if you want to adopt the same design of the landing page for your thank you page, to use one of your existing templates, to use a survey or to redirect users to an existing URL (for example your home page or any other page you might wish).

You can preview how your landing page will look by clicking on the eye icon to the right of the desired option.

If you chose to take your page visitors to a survey, you can choose from the surveys you have already built in ActiveTrail, or alternatively, to build a new survey.
Now, click on “Next”. If this is the first time you are accessing the landing page system, a window will be displayed asking you to choose a sub-domain for your landing page.

ActiveTrail provides the domain name “activetrail.biz”, to which your selected sub-domain will be added, unless you enter a domain of your own. The domain name you choose here, will serve as the domain name for all of the URL addresses of all of the landing pages you build within ActivTrail.
Ultimately, your full domain name will be composed of the sub-domain that you define, the ActiveTrail domain, and the page name (which changes with every landing page you create and is determined by you).
3. Assigning Properties
We’ve reached the final step! Just a little more, and your landing page will be live online.

Now you need to fill in the page’s details. Other than the name that we defined earlier, here you will select between various options to publish your landing page:As a page on ActiveTrail’s servers (recommended): under the “.biz” domain mentioned above. This is the most recommended option, as it allows synchronization with our reports system and automatic updating of all changes.
1. As a page on ActiveTrail’s servers (recommended): under the “.biz” domain mentioned above. This is the most recommended option, as it allows synchronization with our reports system and automatic updating of all changes.

2. By referring to your own website (CNAME): If you select this option, choose a web address for your page including a sub-domain. The name you select will appear under the name of your website.
3. Using an iFrame: an HTML frame that you can embed in webpages and that updates automatically.
4. Using HTML code: the system will generate the HTML code for the page on demand, but under this option, every time you want to update your page you will need to update the code accordingly.
Page Metadata (SEO):
Just as with any content that you publish, you should index the content appearing on your landing page with keywords, so that it will appear in the most relevant and precise way in search results.

- The page title is the text that appears when positioning the mouse cursor over a page’s tab in a web browser and in search enginees.
- Page description (meta description) is the text that appears under the title of the page in search engines. Describe the page’s content and purpose in a sentence or two. Try to include key expressions.

- A Canonical URL is HTML code which allows you to define the preferred URL for your page, in situations where your website contains pages that have identical content. This prevents duplicate content from appearing in search engines. The code instructs Google and the other search engines, that our chosen page is the original page and it is the one to be referred to.
Tracking Code
When creating the page, the system allows you to easily embed tracking codes (coloring) and for purposes of re-marketing on systems such as Google Analytics, Google AdWords, Facebook.
Paste the tracking code in the corresponding field under “Tracking Code”.

We have concluded building a landing page in three steps. All that is left is for you to press the “Publish” button on the top left side of the application window, and to wait for the confirmation notice that your landing page has be successfully published.

Now you can add the link to your page anywhere you like and, of course, share it on social networks.
Want to know if your landing page is performing satisfactorily?
In your list of landing pages, next to the name of the published landing page, you can view the number of page visitors and how many users it helped convert. On the left-hand side, you can access reports.
Entering the Reports module will show you the number of times your page was accessed between certain dates, the number of visitors identified by the system, and it will allow you to export a list of the visitors who registered through your landing page, including the details they provided.

The reports allow you to track your page’s performance and to learn from it, to help design your next landing pages.

