
RESTful API Documentation
API is the ActiveTrail system’s interface for intersystem integration. Through it you can do everything that can be done on Activetrail’s web system.
ActiveTrail has begun to work with RESTful API technology, a flexible API that’s user-intuitive and innovative!
Communication between machines has never been easier. Using the API interface you’ll be able to connect as many systems as you like in an immediate and smart way. RESTful API is an interface every programmer will want to work with, and with it you’ll be able to build accurate and beautiful campaigns just like in ActiveTrail’s web system.
How to use RESTful API?
Log in via an access token
Identification opposite the interface is carried out by means of an access token, which is managed by the system’s customers in their management interface. One can add to, detract from, and limit the use of the different access tokens.
In order to begin using Rest API, you need to log in to the ActiveTrail system, and to go to the account’s settings.
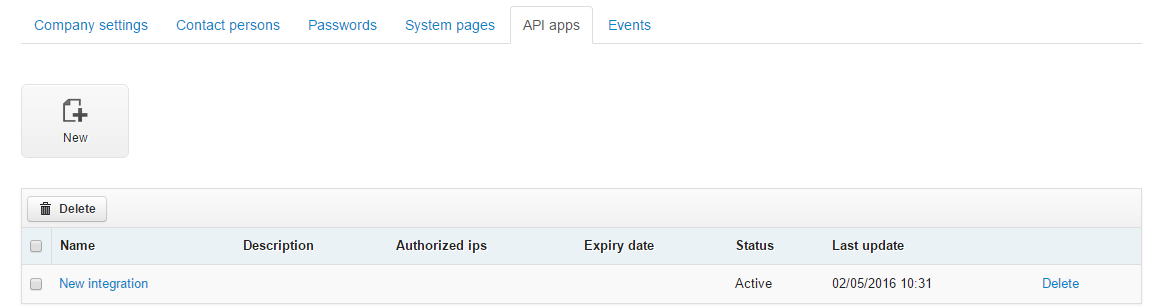
Under the tab ‘API app’ you can create an access token, by means of which you’ll log in to the ActiveTrail system and connect it with any other system you’re interested in connecting.
In order to create an access token, simply click on ‘new’ and a screen for creating the access token will appear:
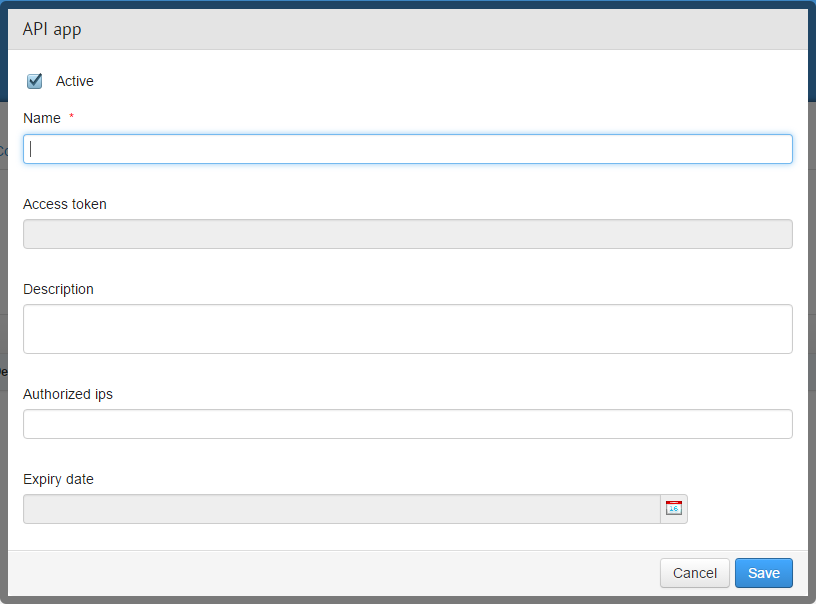
You can create as many access tokens as you like, with each access token designated for a different system. Each access token has a name and a description and every access token may be cancelled. This way, if you’re working with a number of systems that are connected to ActiveTrail, and you stop working with any given system, you can simply cancel its access token and none of your other integrations will be affected.
You can also designate authorized IP addresses or a range of authorized IP addresses for an access token so that only an authorized IP address that also has the specific access token can log in. In addition, you can also limit the authorization period and create access tokens whose validity expires on a given date. Access to the API is very secure, since the access token can’t be faked and the programmer works with an access token.
After you hit ‘save’, the access token you created will appear on a list under ‘API apps’:
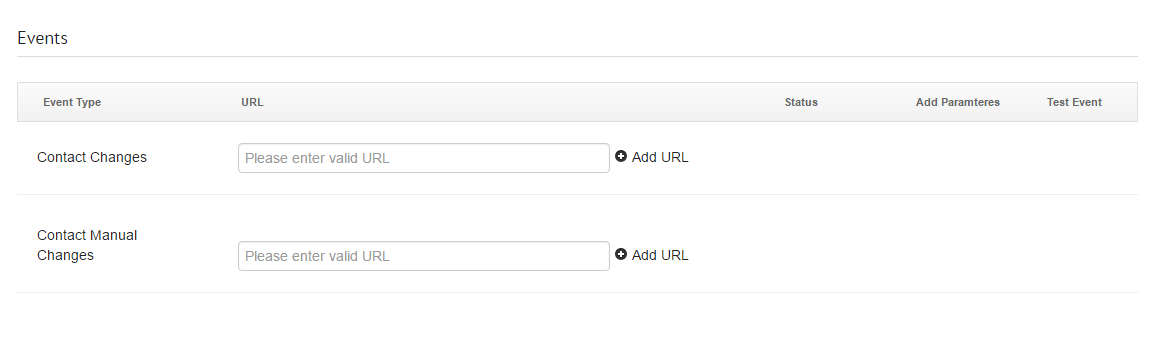
Events (Webhooks)
Next to the API apps tab in your account settings, you’ll find the ‘Events’ tab (‘Webhooks’ in the documentation).
These are updates of the system’s recipients’ data, which can be carried out manually or automatically.
In order for ActiveTrail to be able to address your system, you need to enter your API address in the space designated for a URL address. To the left you can add the necessary parameters of your API that will always be sent in every contact with your API.
In order to check if you received a notification from us, click on ‘Test Event’ and check if a notification was received.
You can change and update your recipients’ data either manually or automatically, so that the webhooks will be connected to all of your other systems and will be updated in all of them.
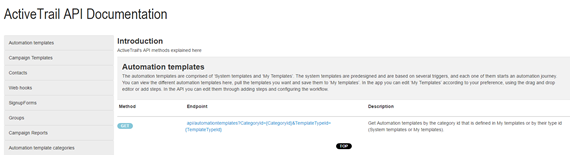
Online documentation
Access to the API is carried out online and there is online documentation, with a detailed explanation of each function, what it does, what you can get and what you can return through it.
All the functions are open for your use, including our automation system.
The functions are divided into categories, just like in ActiveTrail’s web system; every task that can be carried out with ActiveTrail’s user interface can be carried out with API:

You can test each function with the ‘Test API’ button.

That’s it, now you’re familiar with the RESTful API, an advanced, innovative, and easy to use API.
Go into the documentation and get to work!