
Landing pages are a big part of your marketing strategy. They help secure your value proposition in the minds of prospects, and ultimately drive more sales.
Studies have shown that companies using more landing pages saw a proportional increase in their total number of leads; specifically, increasing the number of landing pages from 10 to 15 saw a 55% increase!
A well-designed landing page should make the most of the buyer journey, and be optimized for qualifying and converting visitors.
That said, one of your biggest challenges is figuring out the best way to optimize your landing pages.
Typically, landing page conversion rates will be around 1-3%. Recent studies show that:
- The average e-commerce conversion globally is at 2.86%
- The average e-commerce conversion in the US is at 2.63%.
- The average e-commerce conversion globally is at 4.31%.
But it’s also true that the vast majority of landing pages are not well optimized. Companies that are maximizing their landing page efficiency and targeting are seeing conversion rates in the double figures.
Optimization is an ongoing process. You’re not going to get it right the first time. Only once you launch, test, study, and tweak your pages will you see the true conversion rate potential.
To overcome this problem, which is one of the biggest problems B2B marketers face, this article outlines how to optimize your landing pages to save time and money, and ultimately streamline the process of closing more sales with automation.
Stop Wasting Money on Marketing and Advertising
How much money are you spending on marketing and advertising? If it’s more than $0.00, you need to think about how to optimize your landing pages.
Your landing pages are part of your overall business process management strategy. At different points in the buyer journey, especially for B2B customers, you have small windows of opportunity to convert.
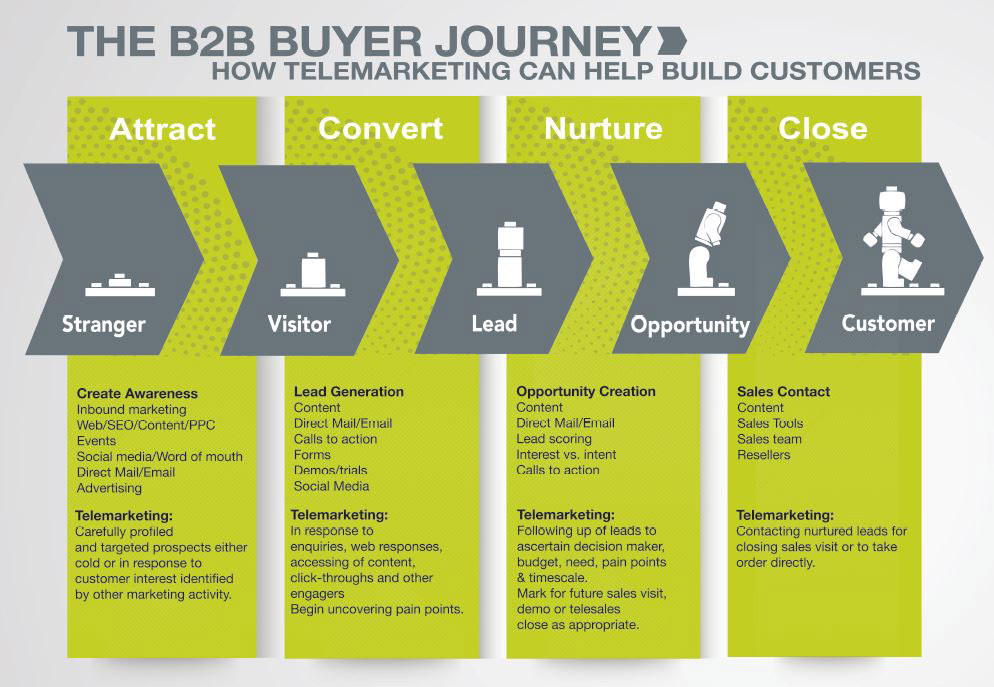
The buyer’s journey is the process in which prospects go from being unaware of the brand to discovering information about your products and services, to beginning the research process, to finalizing some contenders for a final buying decision, to the actual conversion and ongoing relationship beyond that.
When visitors come upon your website, first impressions are important, and it’s necessary that you have adequate systems in place to deal with the needs and wants of each individual.
Calls to action can encourage inquisitive visitors to move on to the next stage of the journey.
Using forms to collect information on and qualify visitors and leads is a great method for making sure those high-quality prospects don’t slip away.
Timing is crucial – and the best way to make sure you don’t miss that ever-shrinking window of opportunity is with automation.
Leaving a high-quality lead too long without taking action to close out a sale is the equivalent of paying good money for the finest organic produce and forgetting about it without cooking.
So, don’t waste your time or your money and make sure you have the tools in place to maximize landing page conversion.
How to Use ActiveTrail and Process Street to Maximize Landing Page Conversion
When a high-quality lead completes a survey or provides you with any indication they’re qualified for a closing sales pitch, you need to know ASAP. You can set up an integration so that these leads are automatically recorded, and funneled into a checklist for closing the sale.
Thanks to Process Street, your sales team will have a reliable, clearly outlined process for closing sales each and every time. It’s a proven statistic that having a process helps increase success rates and consistency.
Process Street is a piece of bpm software that helps you to quickly and effortlessly build and organize workflows.
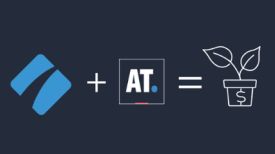
Together with ActiveTrail, Process Street can help you automate the client onboarding process with the power of integration.
Integrations are basically when two separate tools “talk to” one another and make your life easier by reducing the amount of manual work you have to do.
Here’s the set-up:
Getting Started with the Integration
To create this integration, we’ll be using Zapier.
Zapier is a tool that specializes in allowing you to effortlessly link 1,000s of business software apps together, including pretty much all of your typical day-to-day applications.
It does this with “Zaps”, which is just another way of saying integration.
In this article, I’ll be walking through each step to set up a working integration between Process Street and ActiveTrail, to automate and close more sales.
Understanding Zaps
Zaps are made up of two parts: triggers and actions.
Triggers are conditions waiting to be met, and actions are what happens as a result of those conditions being met.
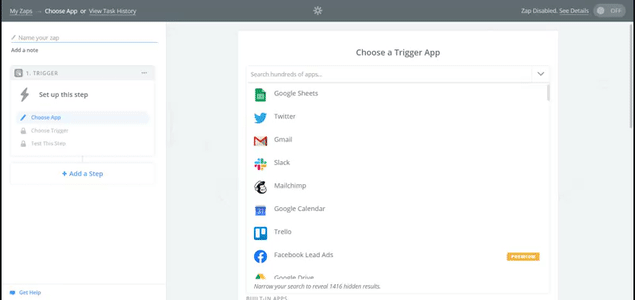
The first step is to create a new Zap. Head on over to Zapier and create an account if you haven’t already.
Then, click the “Make a Zap!” button on the top right corner of the screen.

In this case, we want to set the trigger to be whenever a new contact for a specific list in ActiveTrail is added, and the resulting action to be running a specific checklist in Process Street.
Setting up ActiveTrail as a Trigger in Zapier
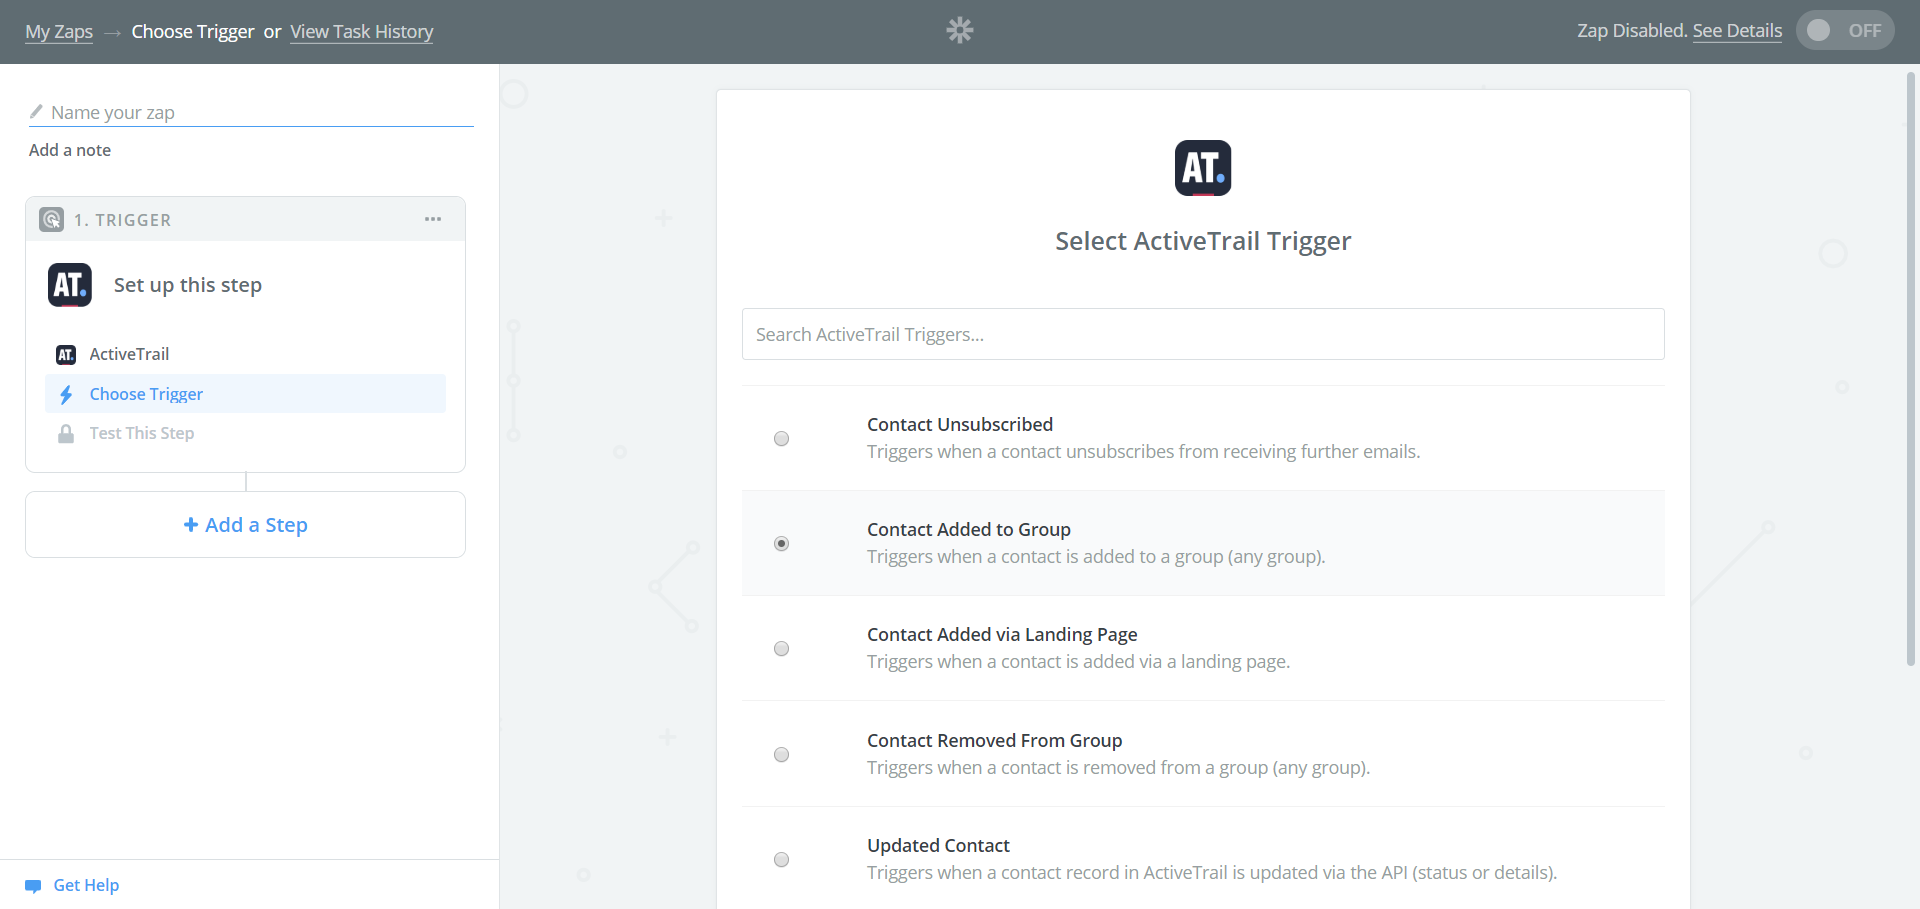
Search for “ActiveTrail” in the search box:
Then, select the trigger. In this case, it’s “Contact added to Group”:
Now you need to connect your ActiveTrail account with Zapier.
For this, you’ll need your API, which can be found here, or by going to More > Integrations > Zapier from your ActiveTrail Dashboard. From there, you can generate an API Access Token.
Input the token in the pop-up window that appears, like this:

Your linked account will look like this:
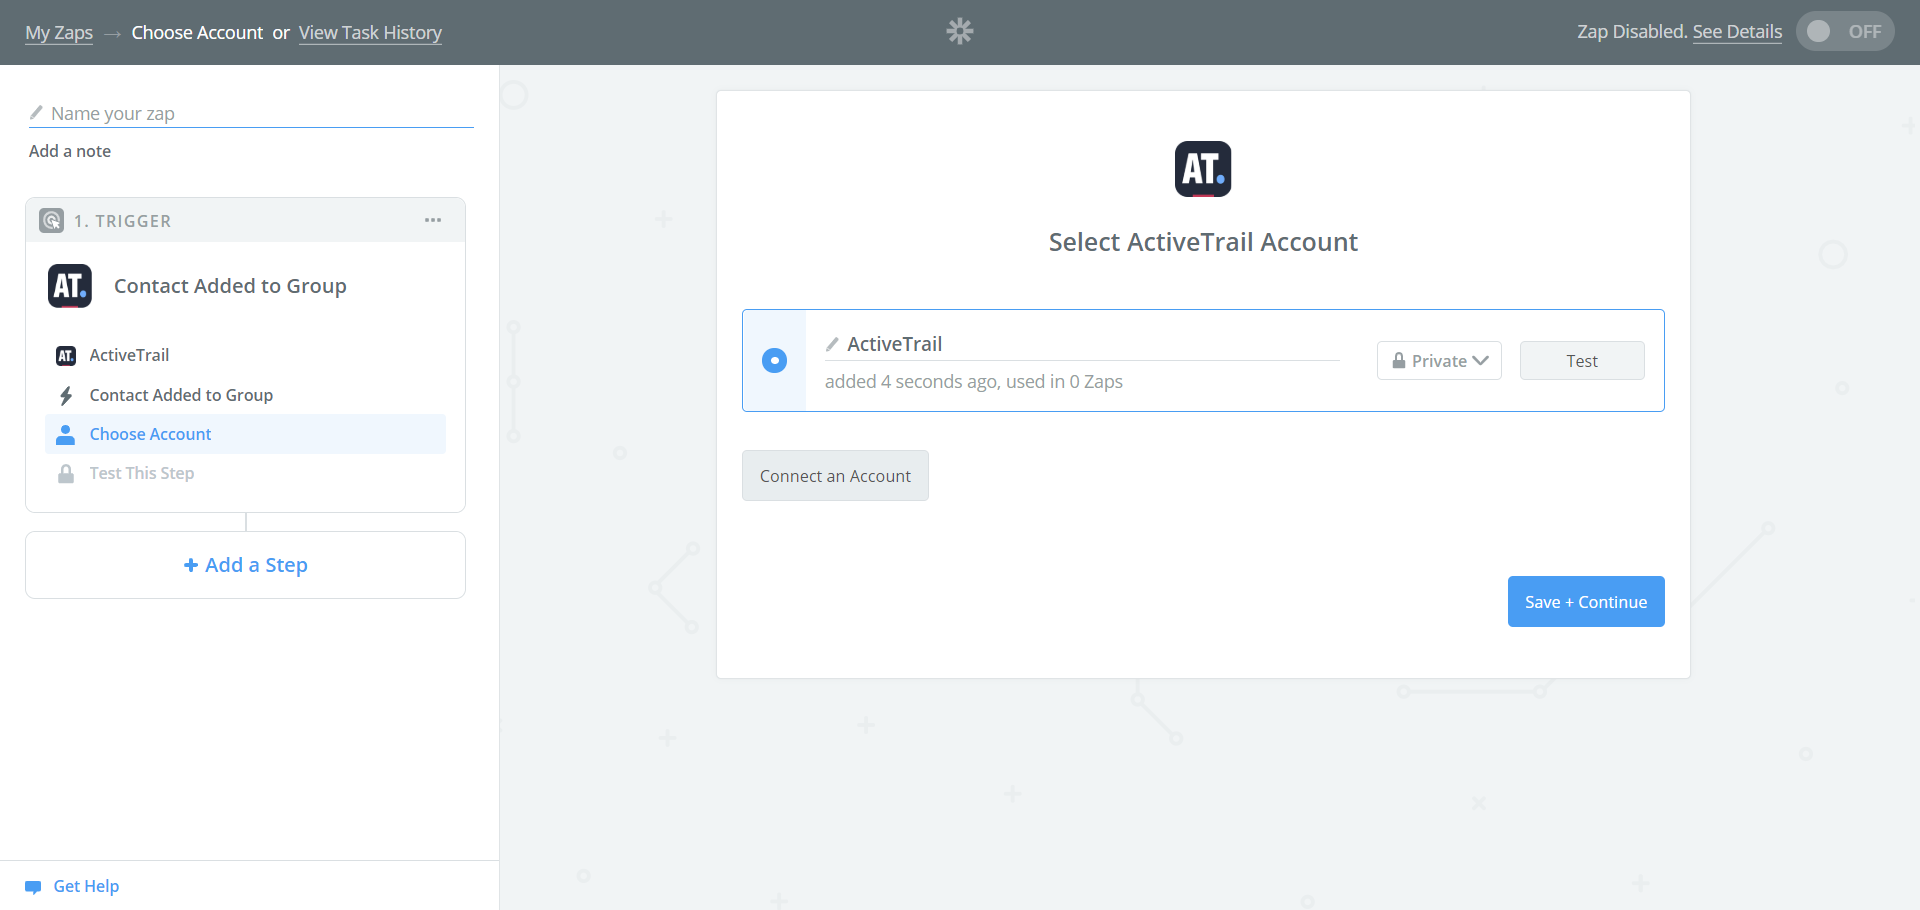
Zapier will now automatically try and pull some data from ActiveTrail, so hold tight until you get a confirmation screen like this:

That means Zapier was successfully able to reach your account using the API key you provided.
And that’s the trigger pretty much set up!
Now you need to set up what happens once the trigger pops: the action step.
Setting up Process Street as an Action in Zapier
We’ve set up the trigger, so now it’s time to sort out the action.
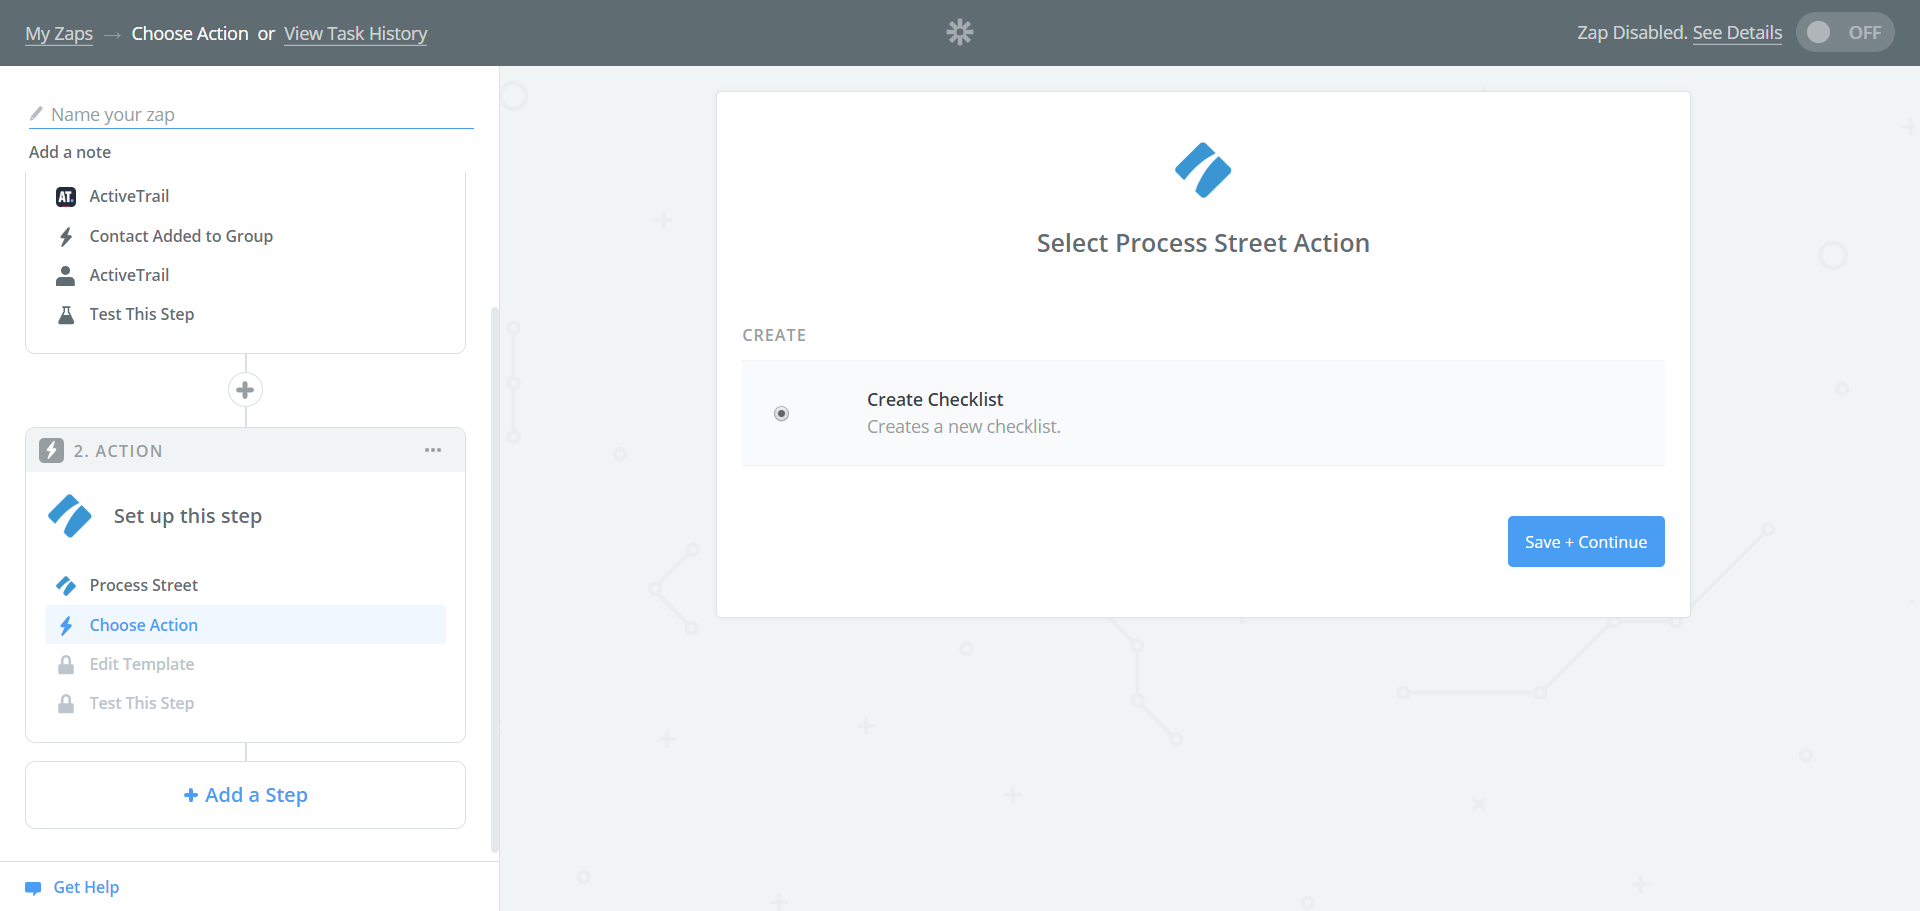
First, click the “Add a Step” button in the left column, and search for “Process Street” in the search box.
Proceed to select “Create New Checklist” as the action:
Just like how you linked your ActiveTrail account, now you need to set up your Process Street account to connect with Zapier.
You can find your Process Street API key in the “Settings & API” tab of the organization you wish to add.

Just click the “New API Key” button and copy the code into your clipboard.
Jump back into Zapier and click “Connect An Account”, then input the API key you just created.

After linking your account, you’ll be able to set a Process Street template to be the Zapier action. For that to work, you need a template in your Process Street organization.
You can quickly make your own by creating a new template, or you can grab a pre-made one, like this checklist for closing the sale:
<iframe src=”https://www.process.st/checklist/closing-the-sale-checklist” width=”100%” height=”600″ frameborder=”0″></iframe>
When you select a template to use as the action, you can pull fields from your ActiveTrail account to automatically prepare the checklist.
I’ve set the name of the new ActiveTrail contact added to the new checklist name, so you can be clear of which lead you’re trying to close. That’s just one example of how you can use form fields and integration to automate your sales workflows.

When you’re done with that, click the “Continue” button at the bottom and we can move on to testing the Zap.
Testing the Integration
To make sure both parts of the Zap are working, just hit the “Send Test to Process Street” button at the bottom of the next page:
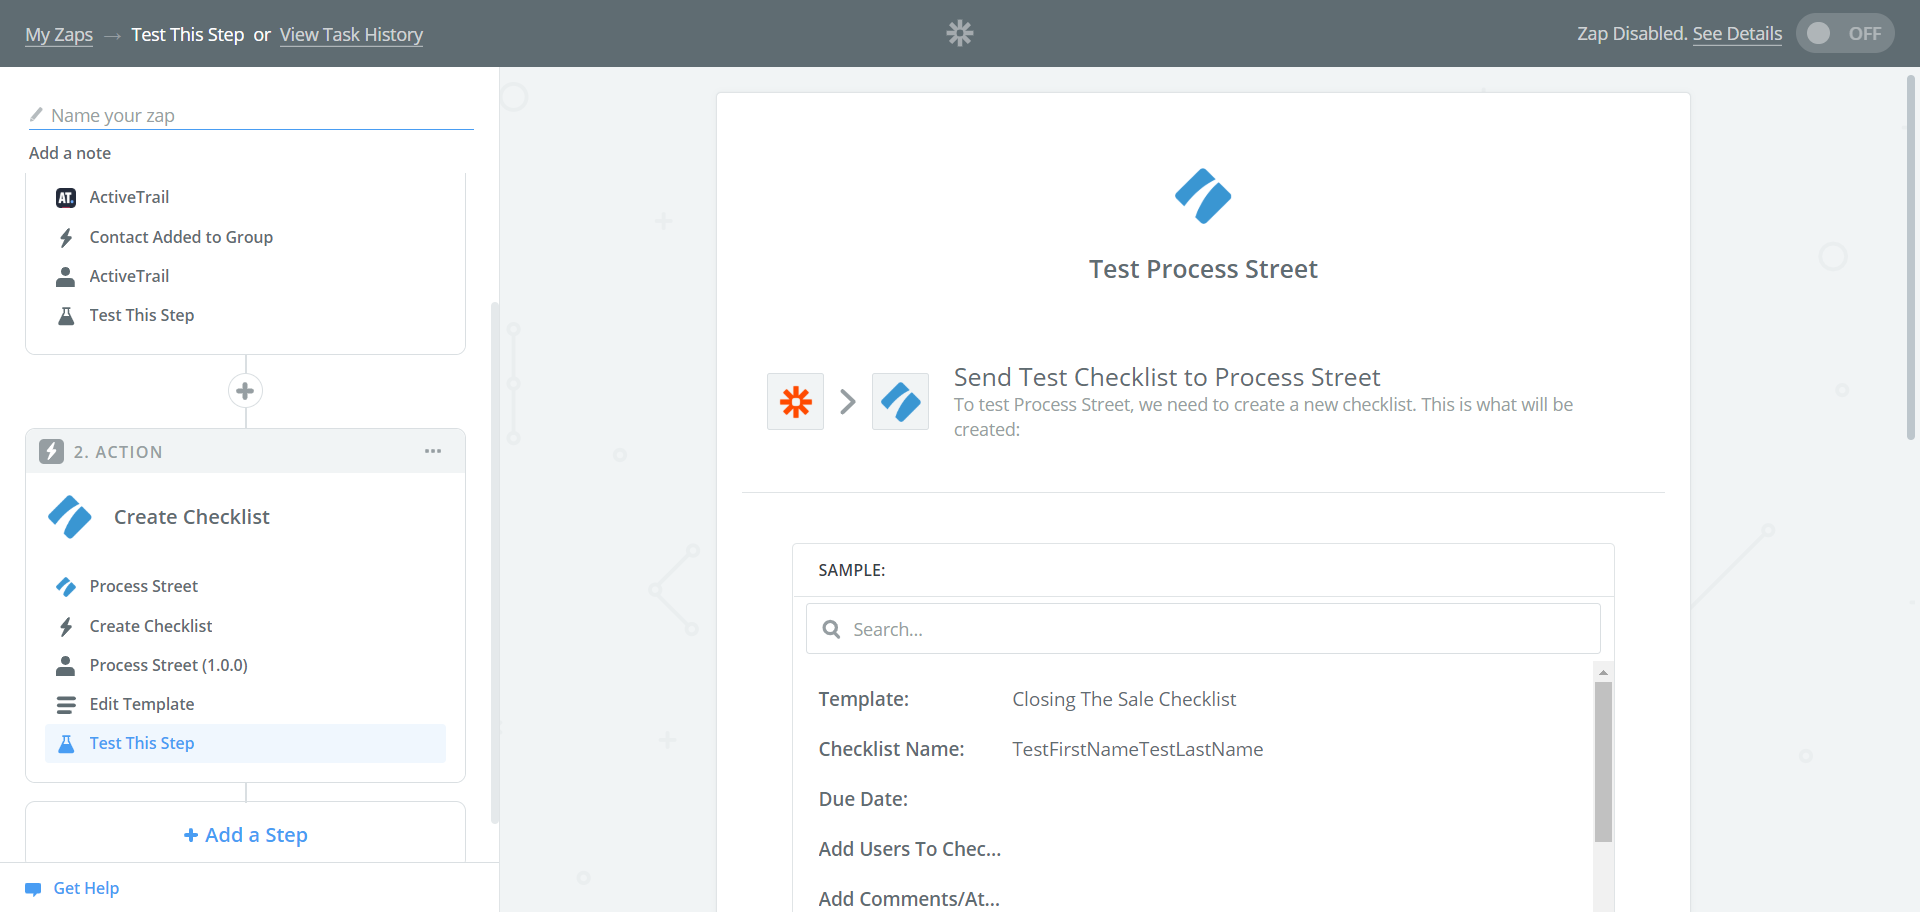
If it works, you’ll see something like this:
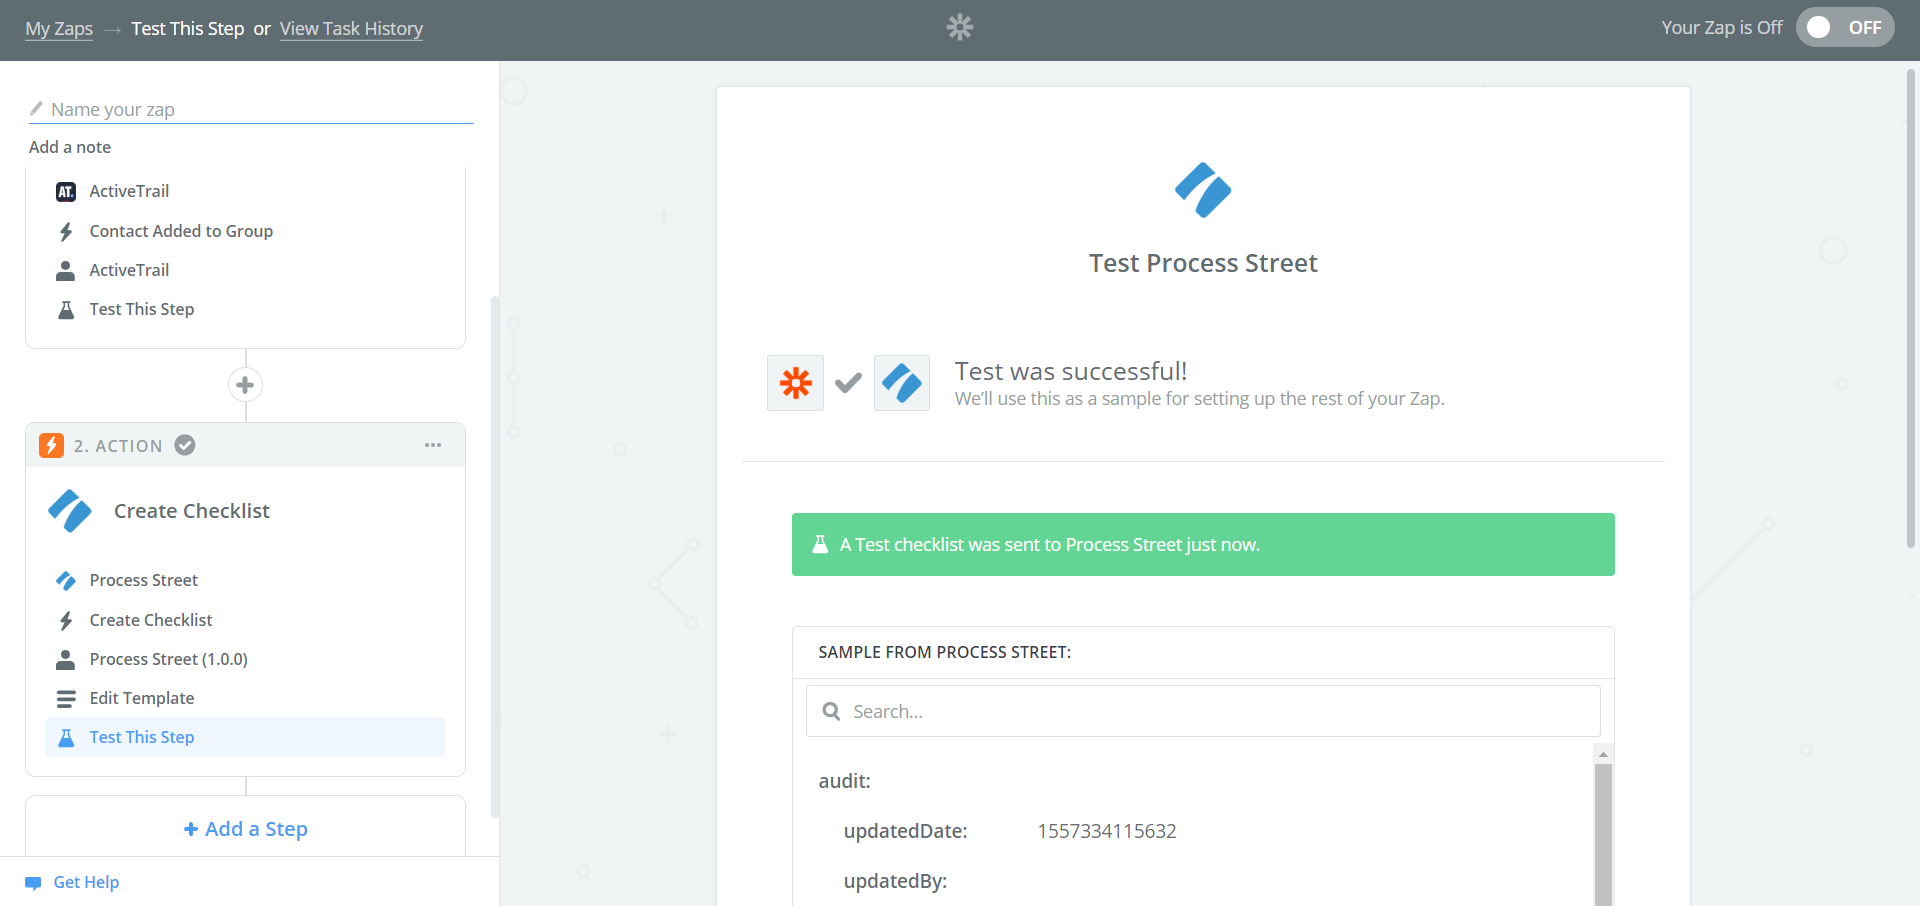
What that means is a new Process Street checklist has just been created. When you turn the Zap on, this will happen every time the trigger condition is met.
To be sure it actually worked, jump into your Process Street account and see if a new checklist was created.
You should also be clear on the difference between a template and a checklist because it’s important here. A template is like a blueprint that allows you to run instances of the process in the form of checklists.
What was created was a checklist, using the template already in your Process Street account.
Now all you need to do is name the Zap and be sure that it’s turned “ON”…
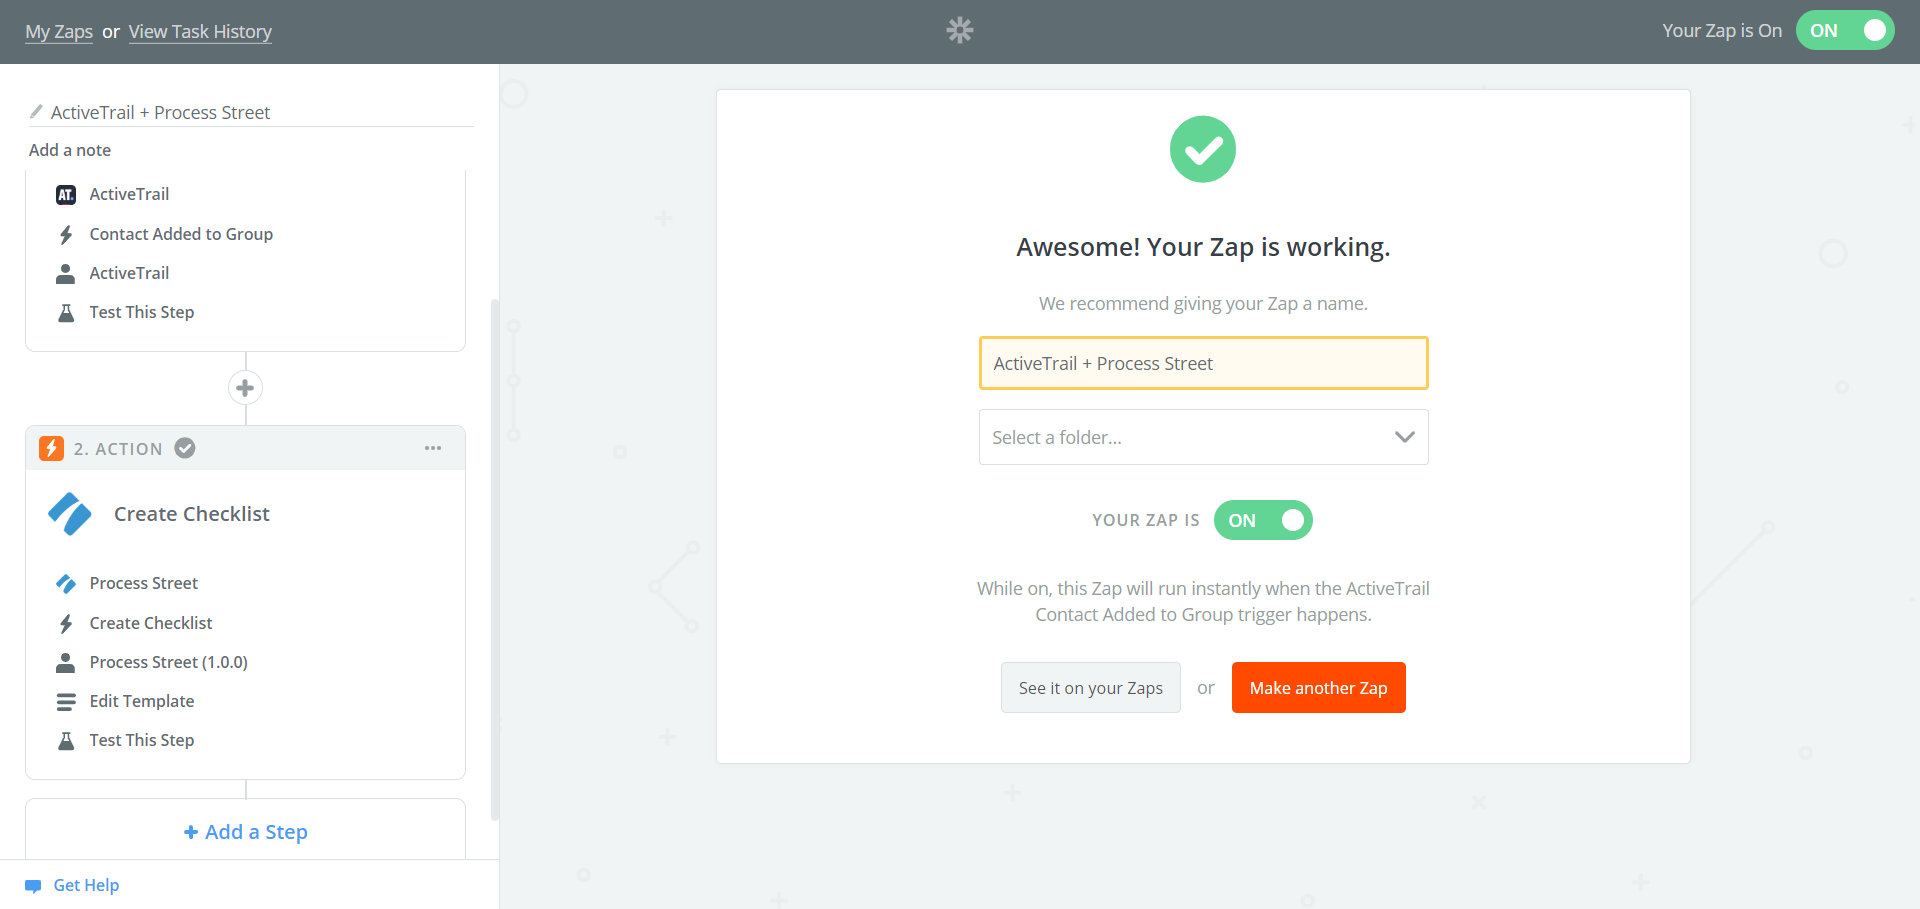
…and congratulations! Your integration is up and running.
Now you’ll be able to rest assured you’re doing the best job possible at maximizing the conversion rate of your landing pages.
By setting up an integration with ActiveTrail and Process Street, you can save money on marketing and advertising by bridging the gap between identifying high-quality leads and starting the process to close them.
Read more:
Why Do My Email Campaigns Look Wrong in Outlook?
A Guide to Improving User Experience on Your eCommerce Site
Top 8 Benefits of Email Marketing to Remember When Creating Your Marketing Strategy